
Introduction
A lot of people and companies are switching from Thunderbird, Apple Mail, and Eudora to Microsoft Office 365 (Microsoft 365), which can handle more users. But it can be hard to move because Office 365 doesn’t accept the MBOX format by default.
We’ll look at the best ways to bring MBOX files into Office 365 in this guide. We’ll look at a professional, automated answer and a free, manual fix side by side.
Why Move MBOX to Office 365?
MBOX is a popular format for local storage, but Microsoft 365 is better in more ways:
- Anywhere Access: Because your emails are stored in the cloud, you can get to them from any device.
- Advanced Security: Use Microsoft’s encryption and threat protection tools for businesses.
- Better Collaboration: It works with Teams, OneDrive, and SharePoint to make working together better.
- Data Integrity: It’s easy for local MBOX files to get messed up; it’s much safer to store them online.
Method 1: Use Thunderbird to manually import MBOX to Office 365
The hard way to do it is to use Mozilla Thunderbird to “drag and drop” emails into your Office 365 account.
Step 1: Set up Thunderbird to work with Office 365
- Sign in to Thunderbird and click on “Account Settings.”
- After logging in to Microsoft 365, add a new email account.
- Make sure that IMAP is used (Server: outlook.office365.com).
- To connect your account, you need to finish the login process (OAuth2).
Step 2: Add the ImportExportTools NG Add-on. Click on Tools > Add-ons and Themes.
You should add ImportExportTools NG to Thunderbird after you find it.
- Start the program again.
- To bring in an MBOX file, go to Local Folders, then Import Export Tools NG.
Step 3: Put your data in the cloud
- When the MBOX emails show up in Thunderbird, press Ctrl+A to select them all.
- Pick “Copy to” and then “Inbox” in your Office 365 account when you right-click.
- Wait until everything is synced.
Be careful with this approach if you have a lot of data. Attachments often get lost, folder structures get messed up, or “Time Out” problems happen during the upload.
Method 2: The Best Professional Way (WebbyAcad MBOX Converter)
The WebbyAcad MBOX Converter Tool is the best way to move quickly and easily without losing any info. It makes sure that all the data is correct and gets rid of the need for technical solutions.
Important Features of the WebbyAcad Tool:
- Direct Migration: To bring MBOX files into Office 365, use your admin privileges.
- Bulk Conversion: You can move more than one MBOX folder at once with bulk conversion.
- Data Filtering: Separate emails by date to move only the important ones.
- Keeps the structure of your original folder: It makes sure that your cloud files stay in the same order as they were on your computer.
How to Use the Tool in a Few Easy Steps:
- Download & Install the WebbyAcad MBOX Converter.
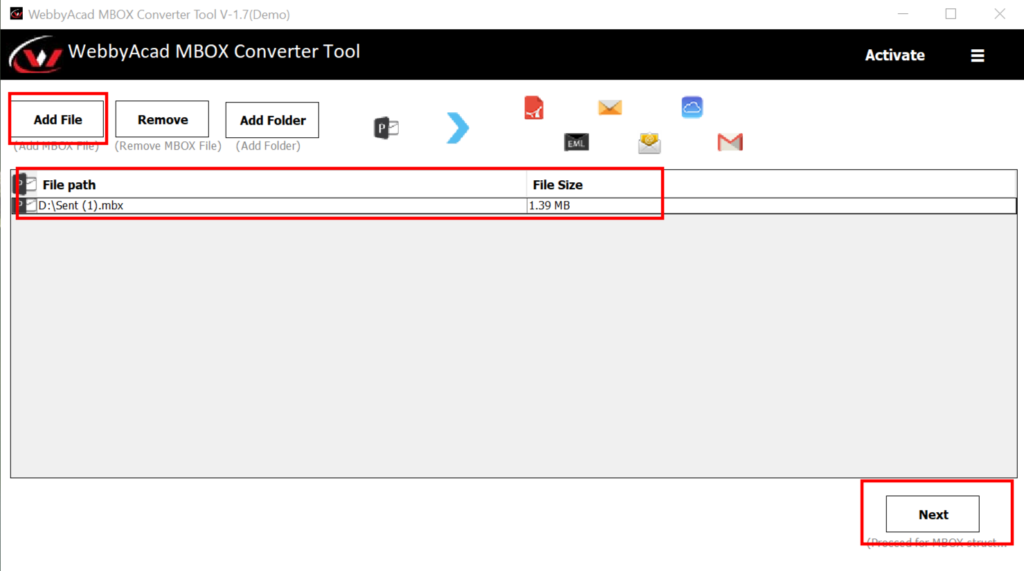
- Add MBOX files: Choose one file or a whole folder.
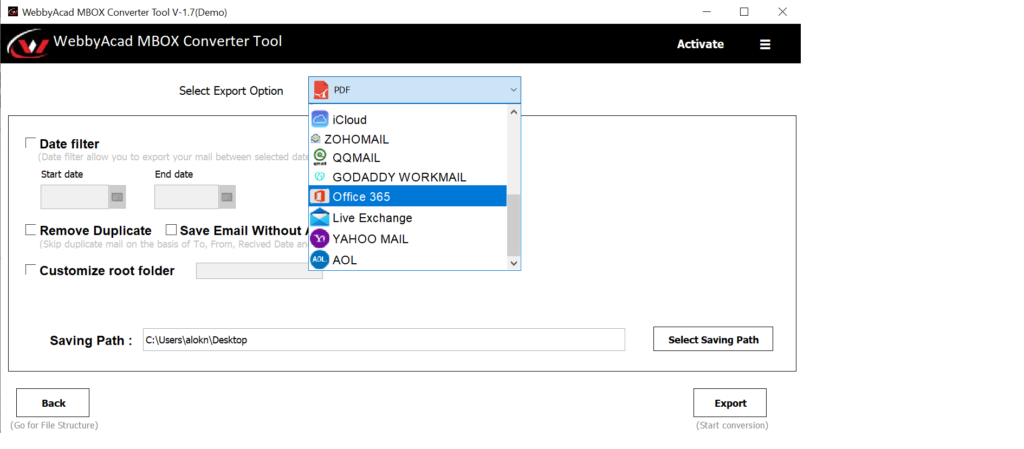
- Choose Destination: From the list of export options, pick Office 365.
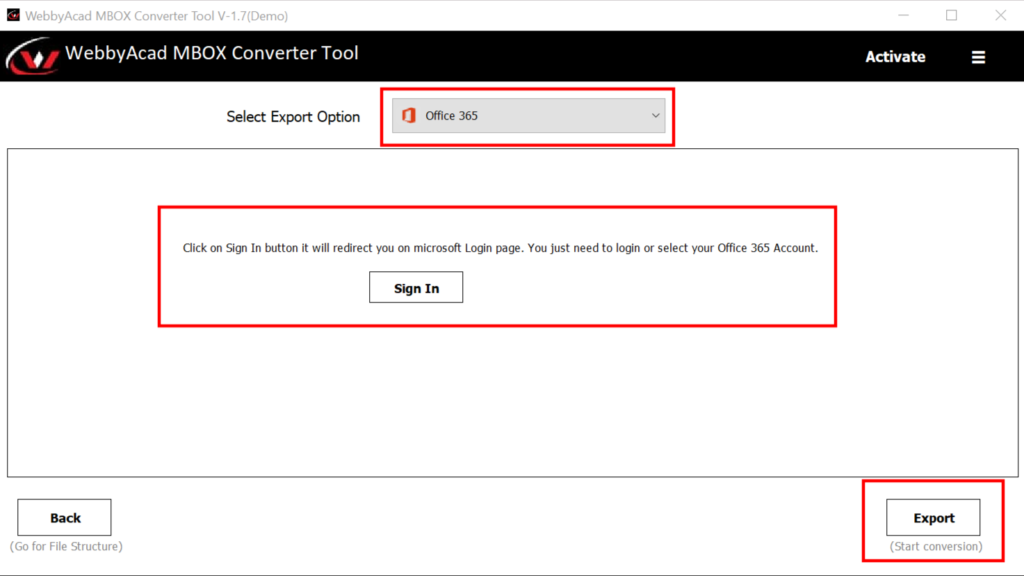
- Authenticate: Enter your O365 login information in a safe way.
- Click Convert/Export, and the software will immediately upload your files.
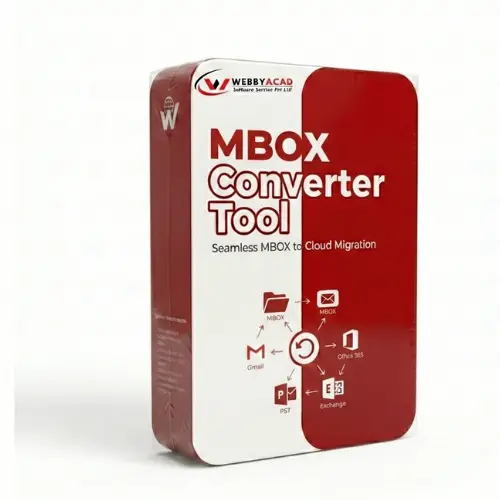
MBOX Converter Tool
It works with many email clients, including Thunderbird, iCloud, Office 365, Outlook Online, and more.
- Instant Cloud Migration
- Supports Office 365
- Google Workspace Ready
- 100% Secure & Reliable
In conclusion
The manual Thunderbird method is a free way to import MBOX files into Office 365, but it’s only good for files that are very small. A professional approach is needed for important company data and big archives.
The WebbyAcad MBOX Migration Tool has the speed, security, and dependability you need to move to Microsoft 365 smoothly.